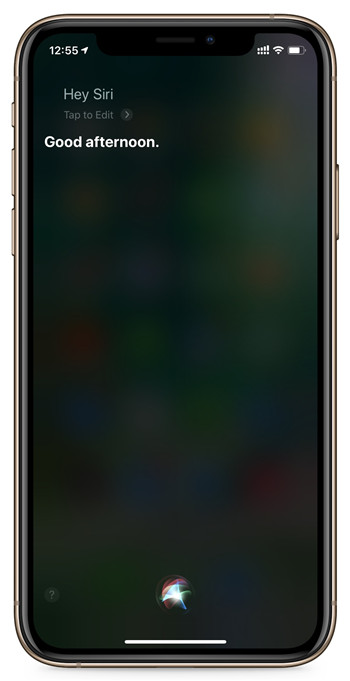
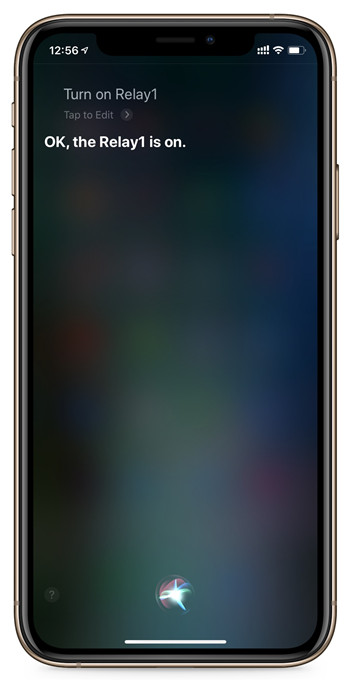
We have write a program for TCP/IP Socket -> MQTT protocl convert help smart home DIYer to use home assistant for automatic control. So now all KC868-Hx smart controller can add to home assistant. You can also use Apple homekit smart home APP, also can use Siri for voice control. Now I will tell you how to do :
Find a Windows or Linux (Ubuntu,RedHat,CentOS,Debian,Fedora,SuSE,OpenSUSE,Arch Linux,SolusOS) computer for server. Such as miniPC or Raspberry Pi .
1.install python
2.install home assistant
3.install ActiveMQ server
4.Running HADemoMain.exe ,ActiveMQ server and Home Assistant
5.Config home assistant
6.Add apple homekit for device
Note:Now we use windows OS for demo lesson, the “HADemoMain.exe” is for Windows OS, but we have supply the python source code, so if you use Linux OS, you can compile the py file to use. Such as run a compile command : “pyinstaller -F -w HADemoMain.py”.
newest “HADemoMain.exe” file and python source code you can download from this link:
https://www.kincony.com/download/HomeAssistant-Demo-KC868.rar
“configuration.yaml” file for home assistant download link.
https://www.kincony.com/download/configuration.rar
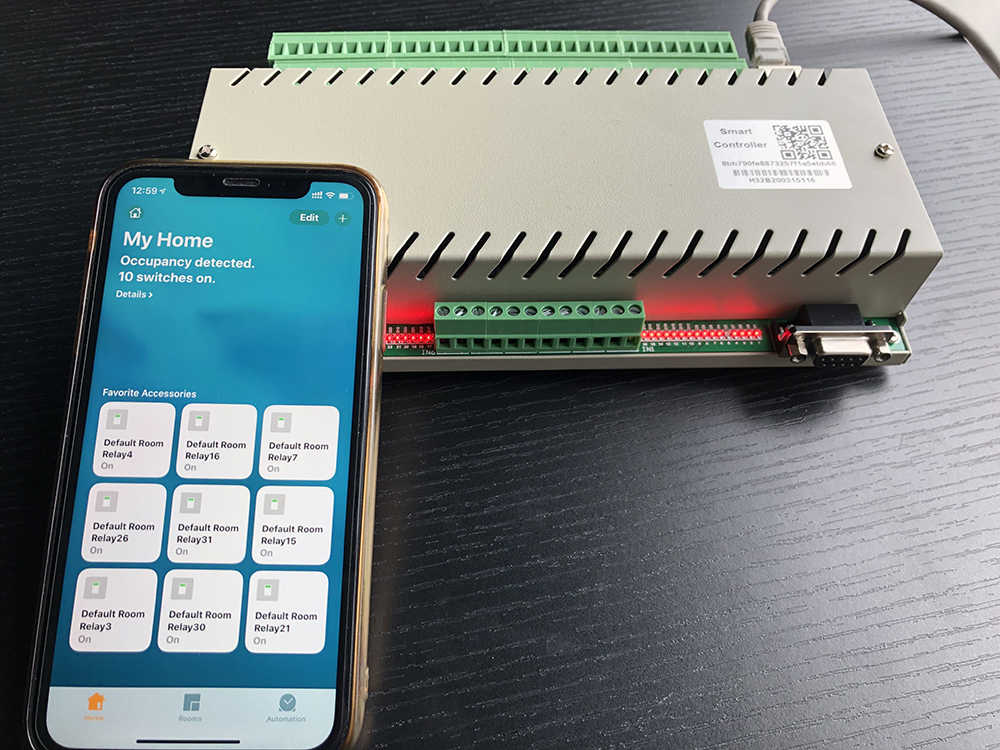
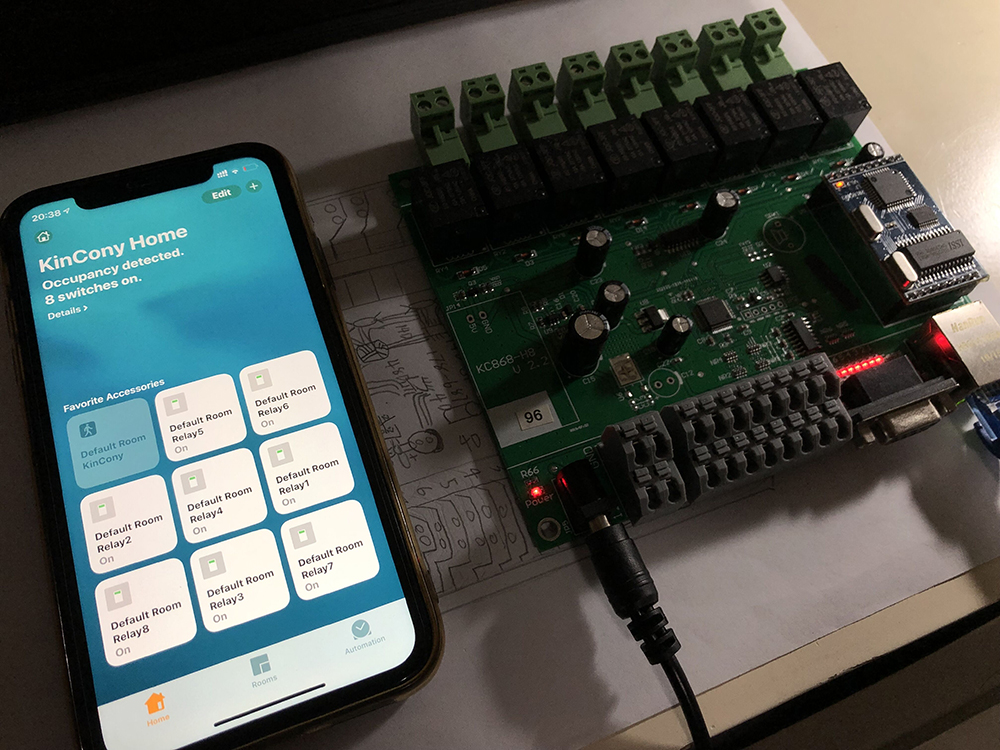
This is the end use effect.

Open python download website.
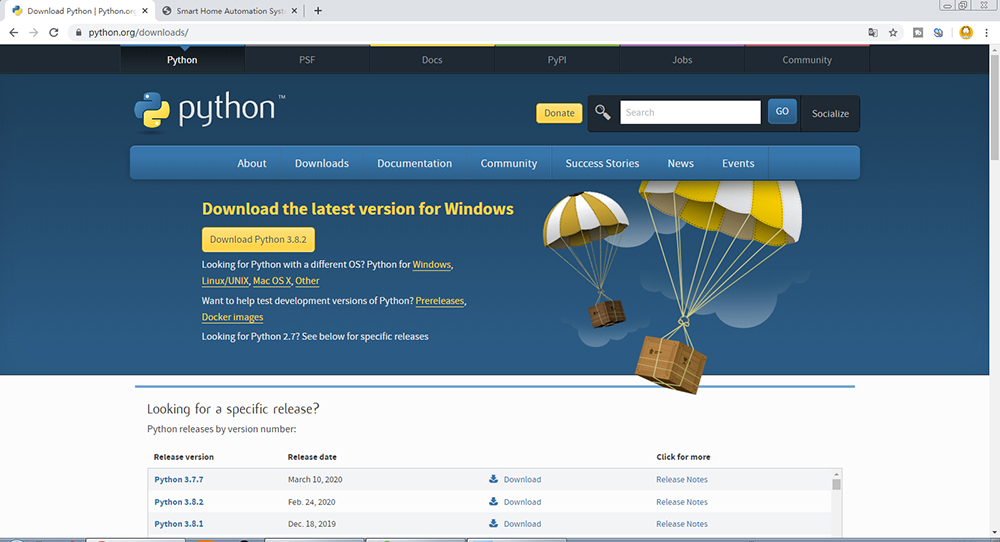
Enter the download center.
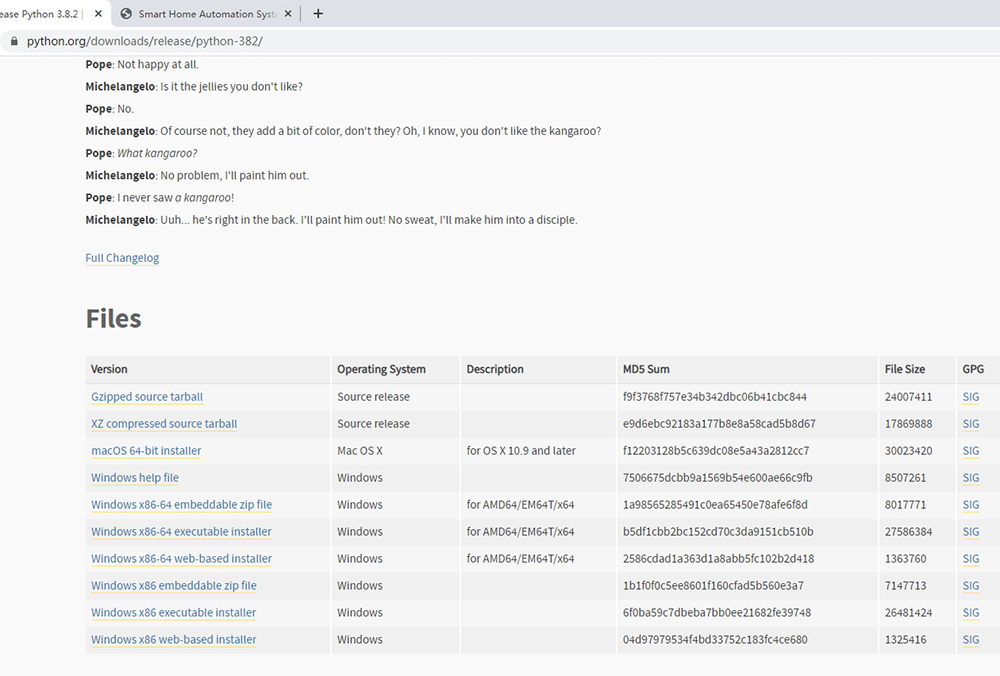
Chose a OS type install file.
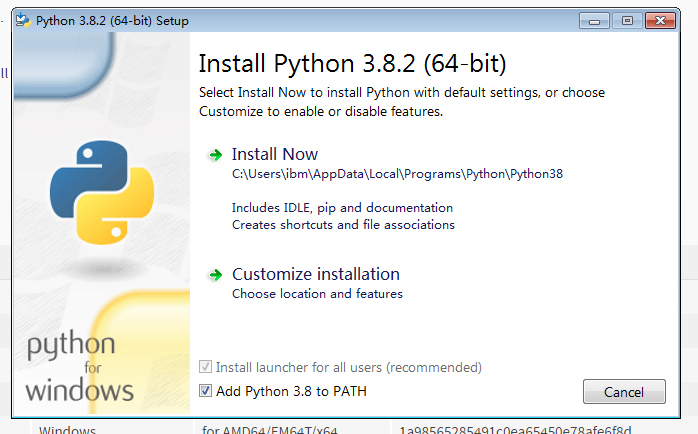
Note: check the option “Add Python 3.8 to PATH”
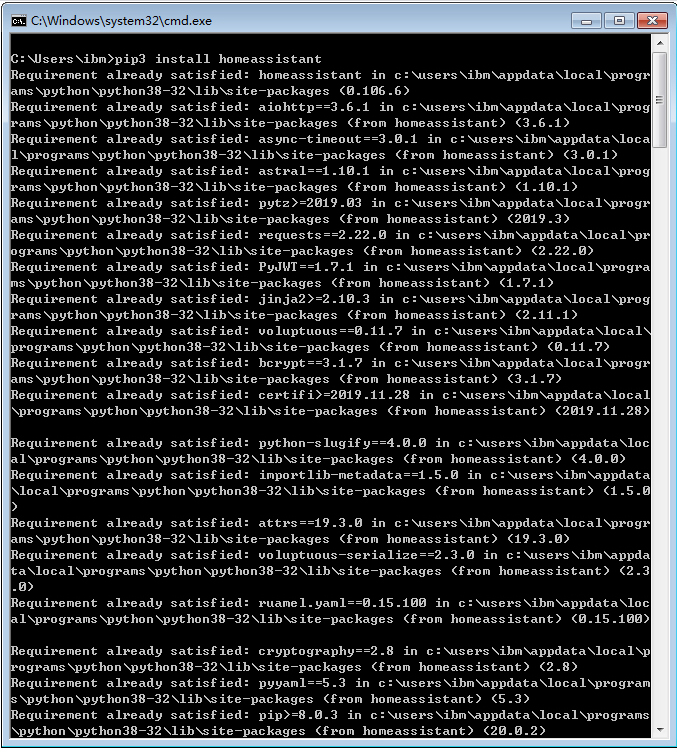
After installed the Python, run “pip3 install homeassistant”, it will takes some time.
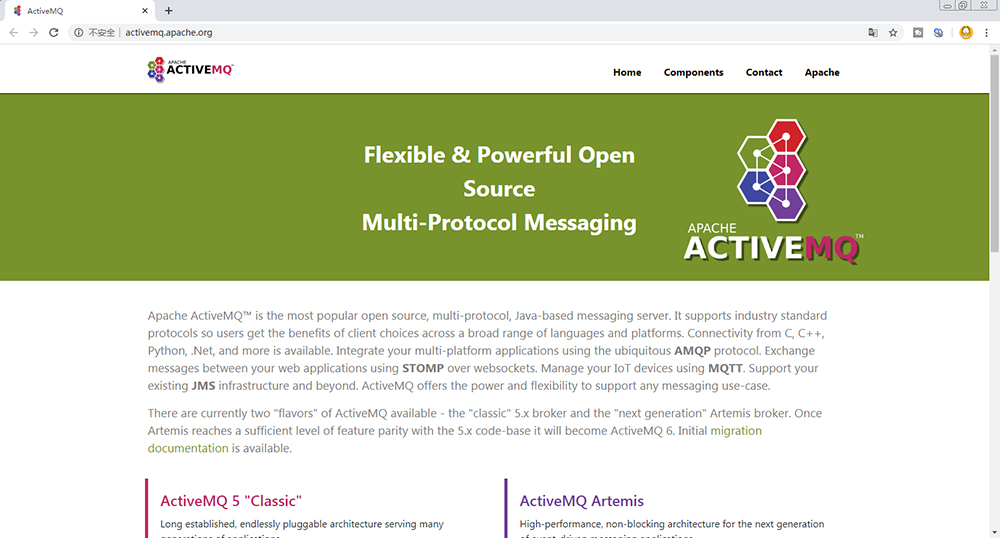
Now, open the ActiveMQ website.
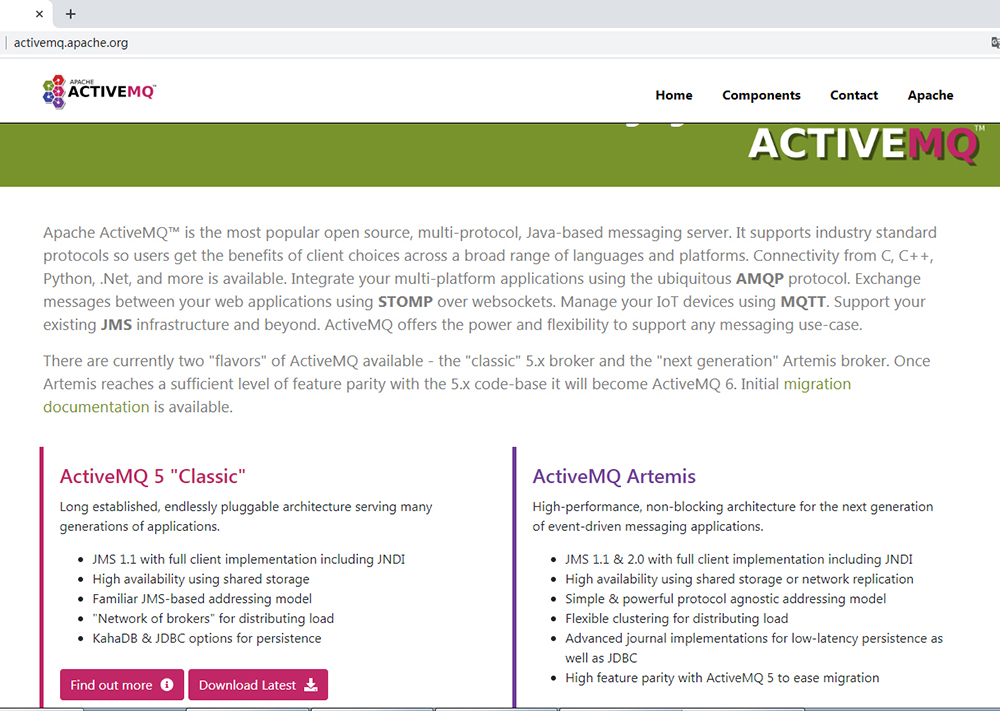
Download the Lastest version file.
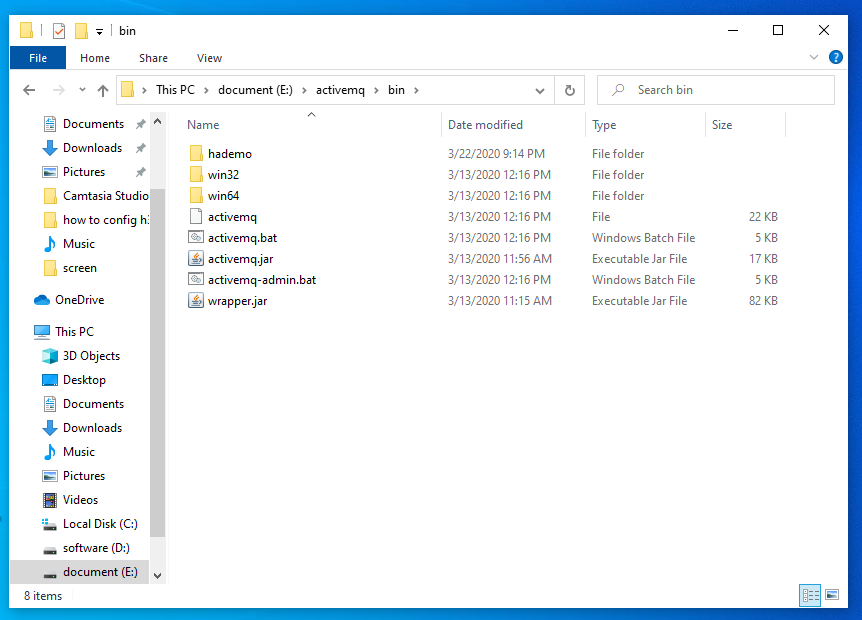
Decompression to folder E:\activemq
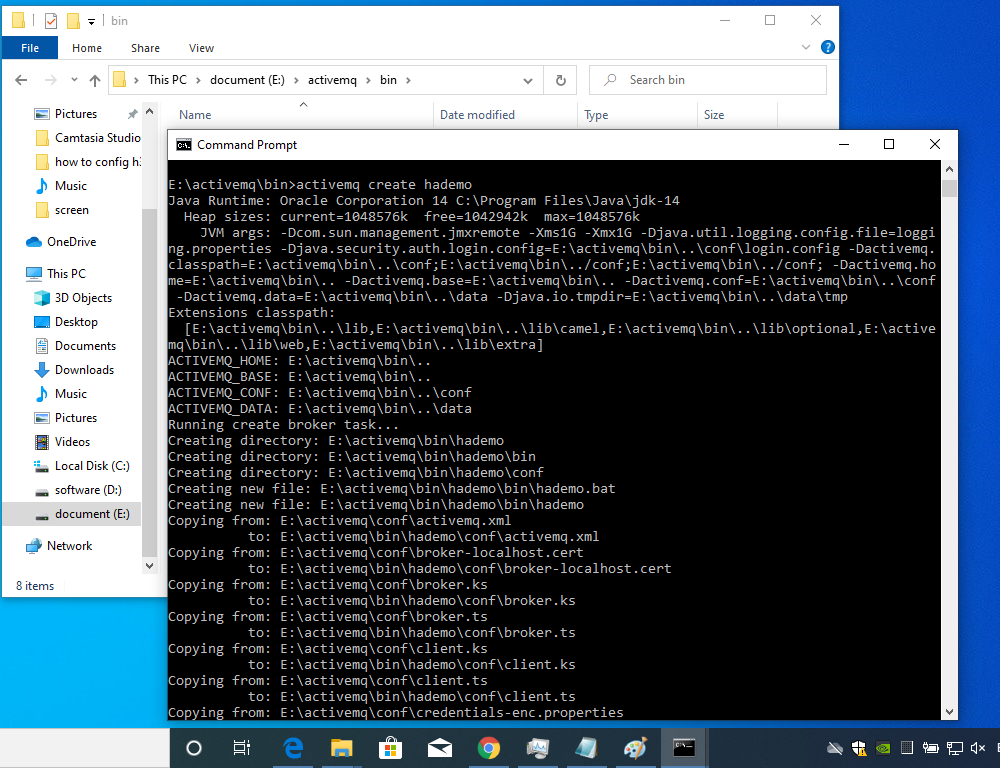
Goto E:\activemq\bin run “activemq create hademo” command to create MQTT server.
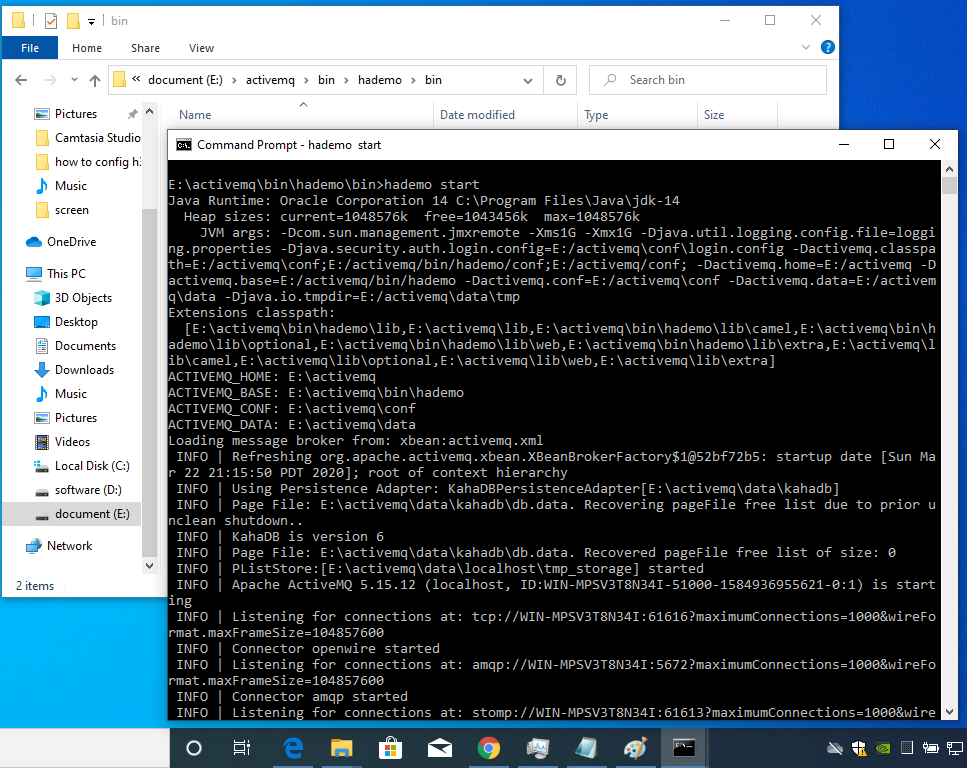
After created, run start command to start MQTT server.
newest “HADemoMain.exe” file and python source code you can download from this link:
https://www.kincony.com/download/HomeAssistant-Demo-KC868.rar
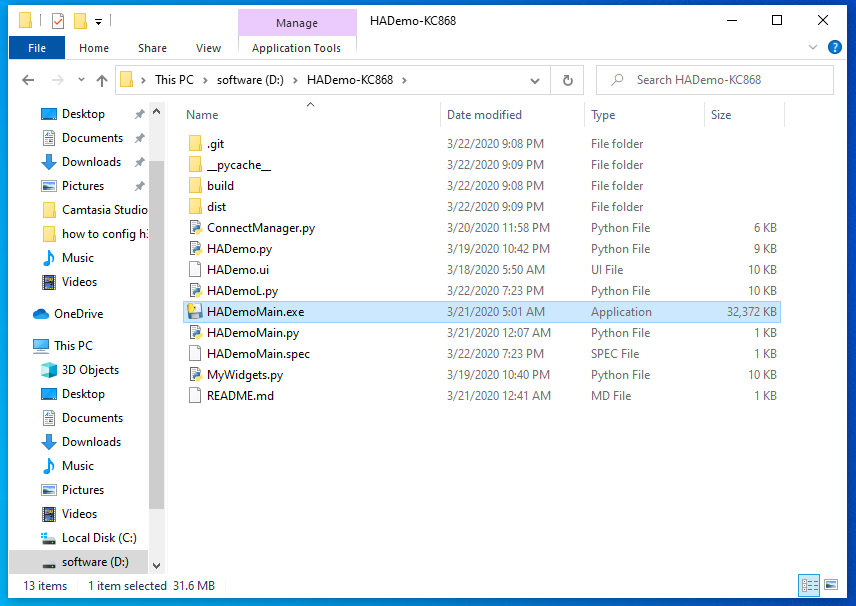
Open the HADemoMain.exe that already download from our website

Open KC868-Hx controller VirCom.exe network config tool. Set the “Work mode=TCP Server”, also we can see the device IP and Port.
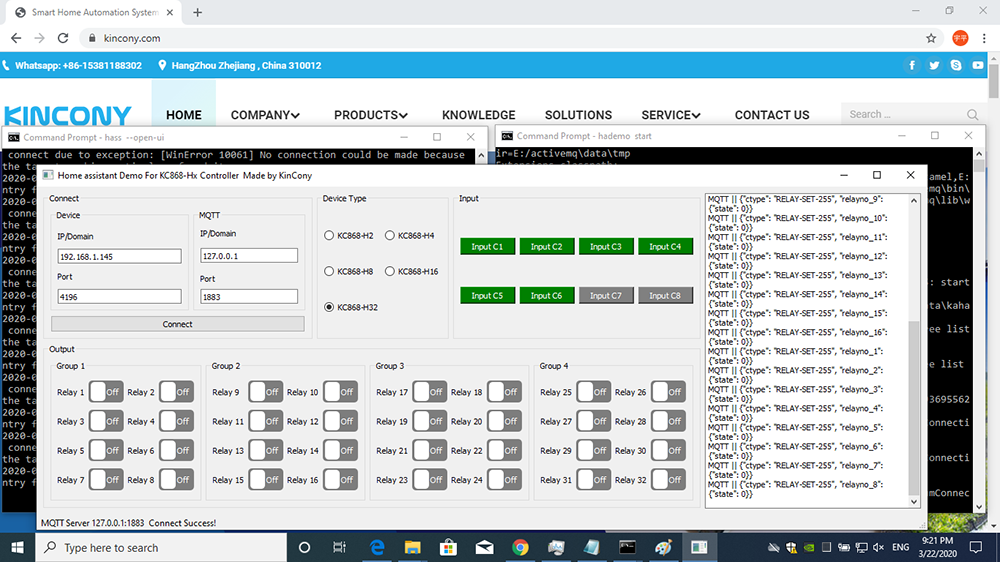
Set the Device IP and Port of controller, set the MQTT server IP and port, because we install the MQTT server in local computer, so we input IP=127.0.0.1, you can also install the MQTT server in another computer, just input the actual IP of your MQTT server.
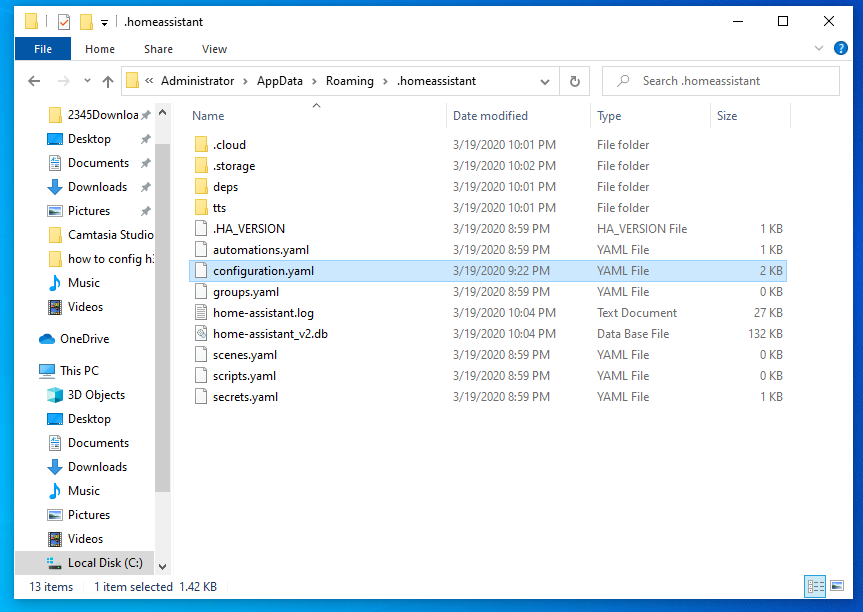
Now we open the “configuration.yaml” home assistant config file to modfiy.
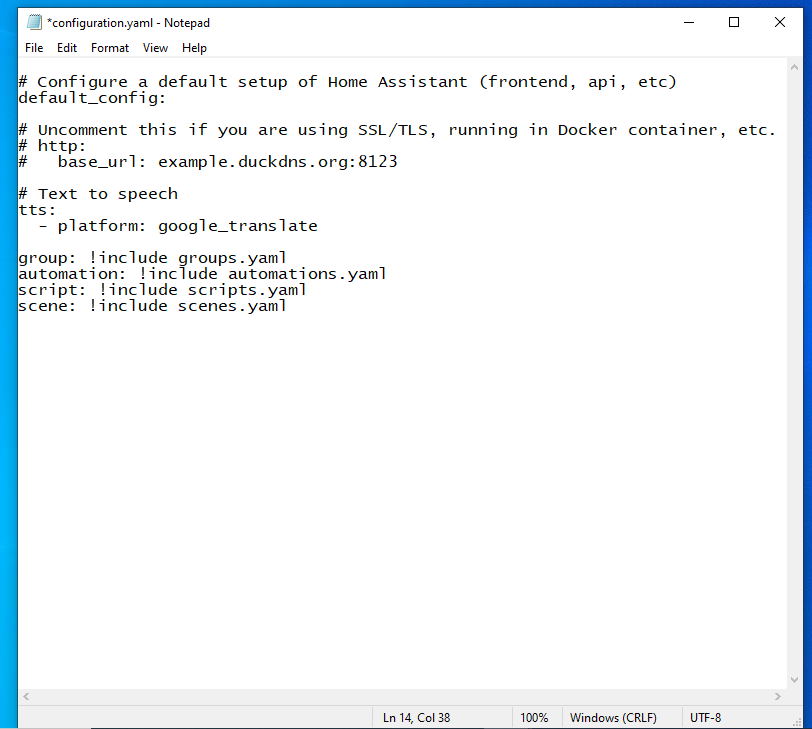
When you install the new home assistant , the config file is above.
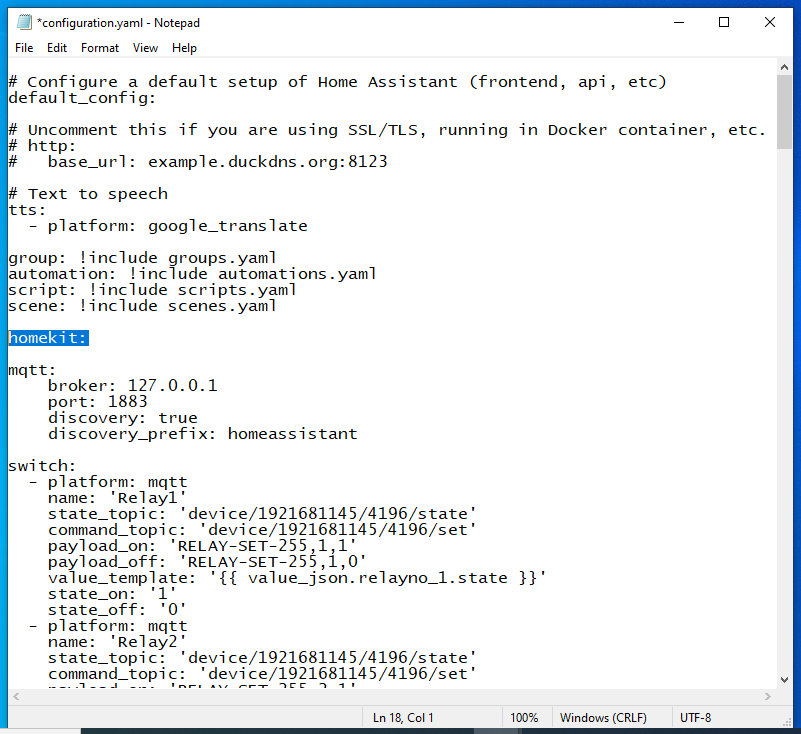
Now we will add the config content of our relay controller. MAX is KC868-H32 is 32 channel relay, you can also config for 2 channels,4 channels,8 channels,16 channels.
You can also download the “configuration.yaml” file we have updated.
https://www.kincony.com/download/configuration.rar
When you add one relay, just change the relay’s “name”,”IP” and “port” in config file as my text. if you want to use homekit, just add the line: “homekit:”
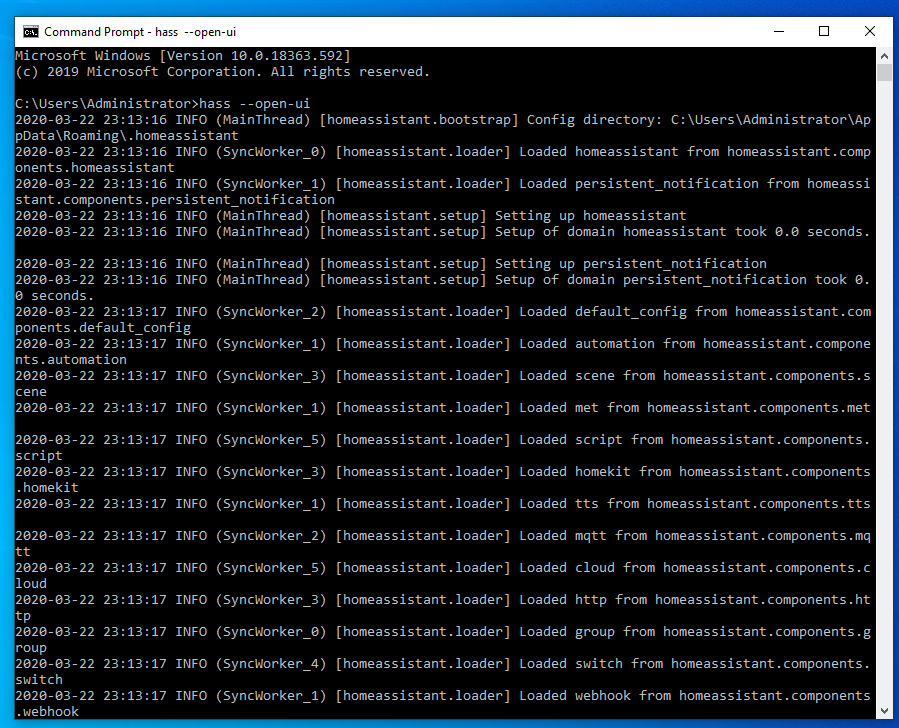
Start home assistant by command “hass —open-ui”
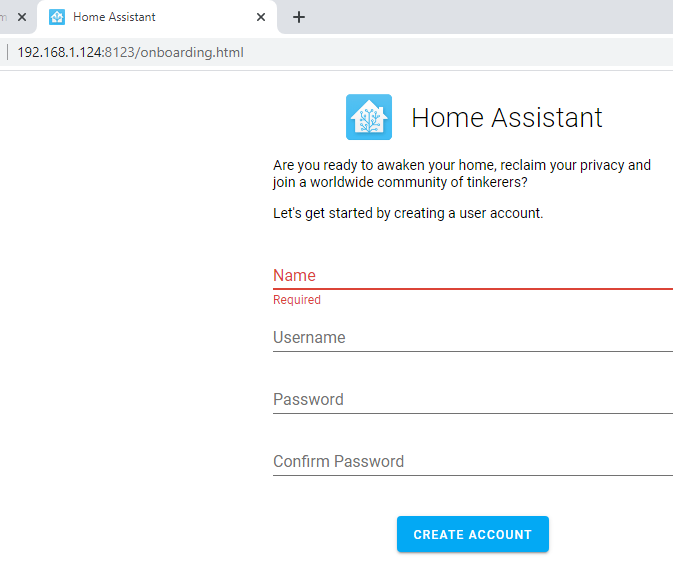
First time open the home assistant website, you need to create account.
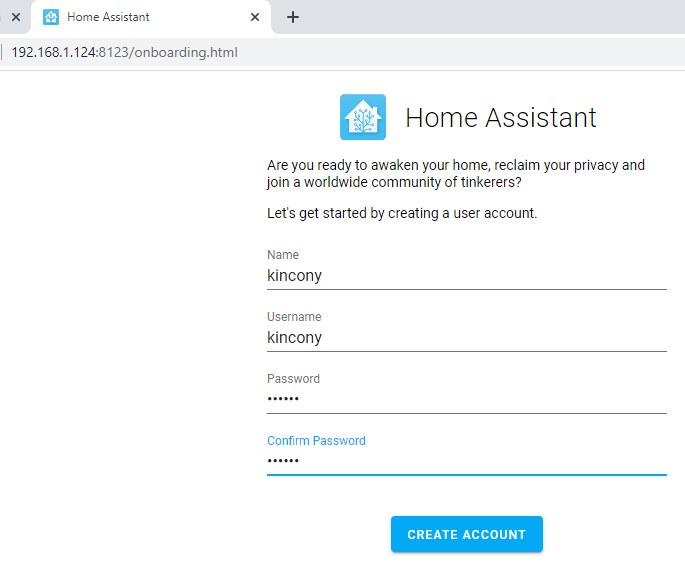
input the name and password for create the account for home assistant.
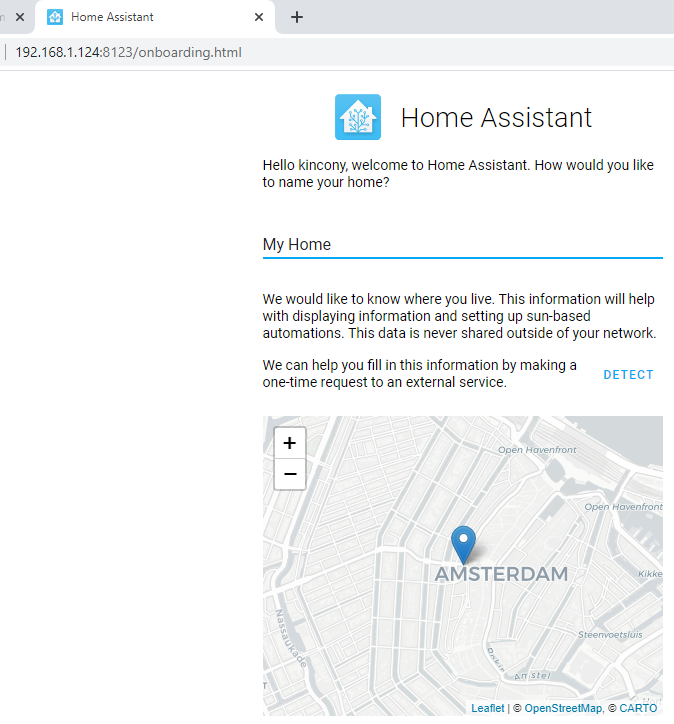
chose your home location in map, then press “Next”
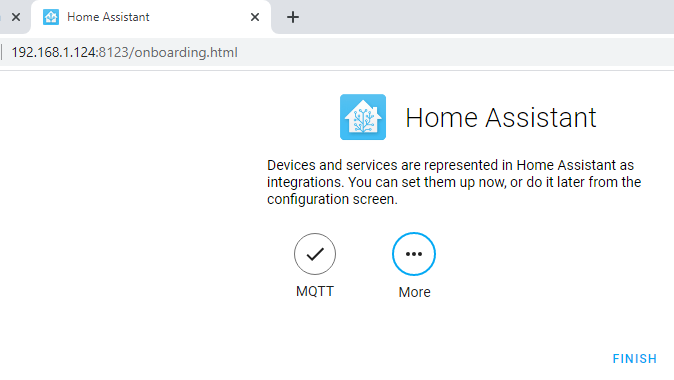
Press “finish” complete the config.
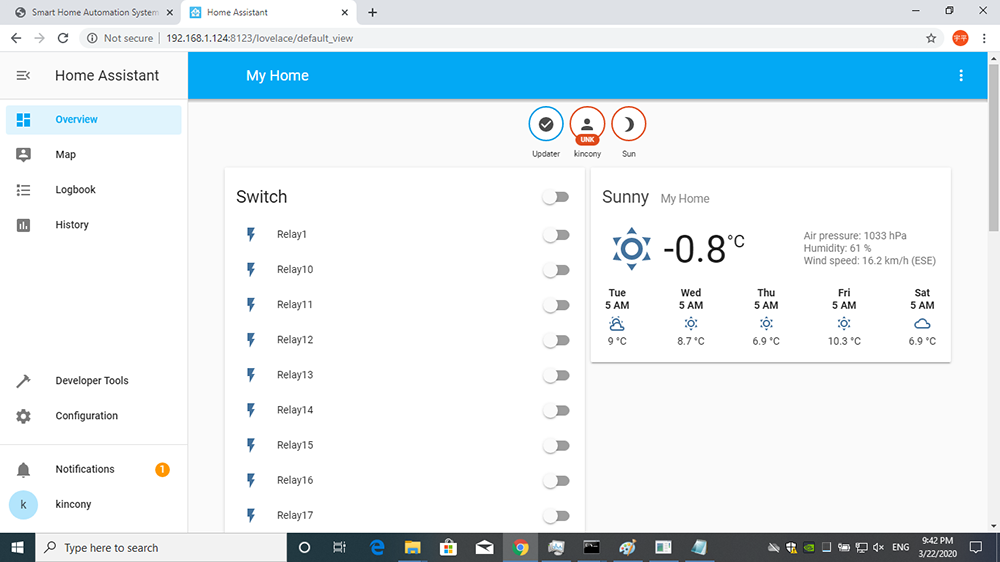
Now you can see 32 relays on the home assistant window.
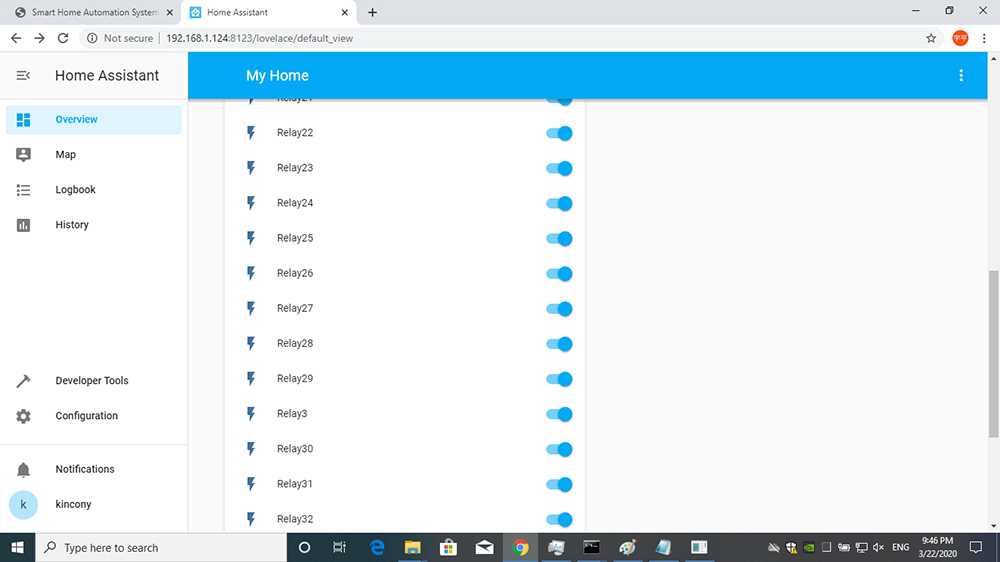
You can turn ON/OFF every relay switch.
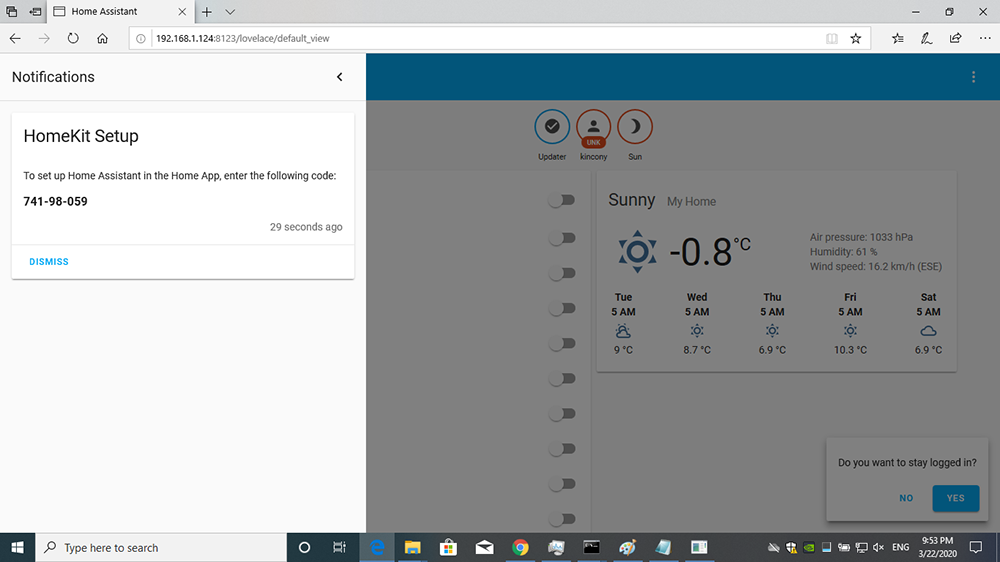
Click left window of “Notifications” website, you can see the homekit setup key.
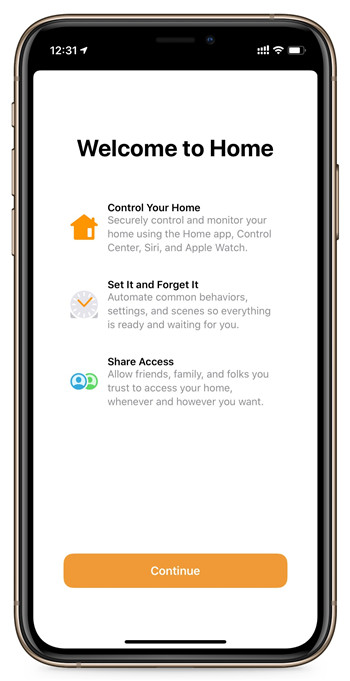
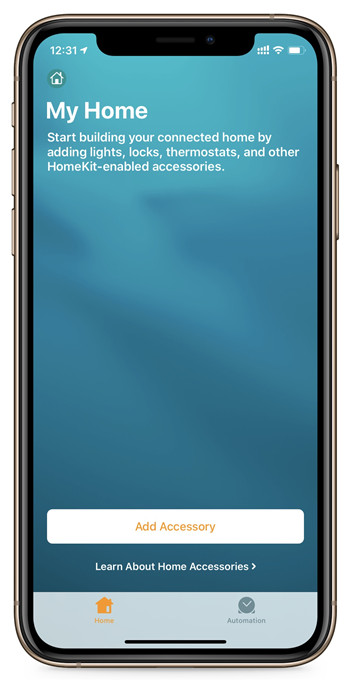
Now, we open iPhone homekit APP. Press “Add Accessory”
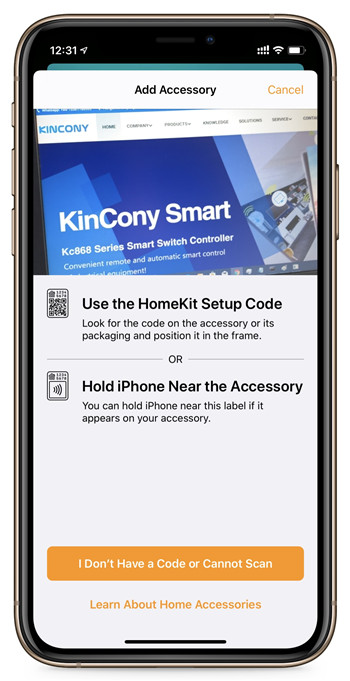
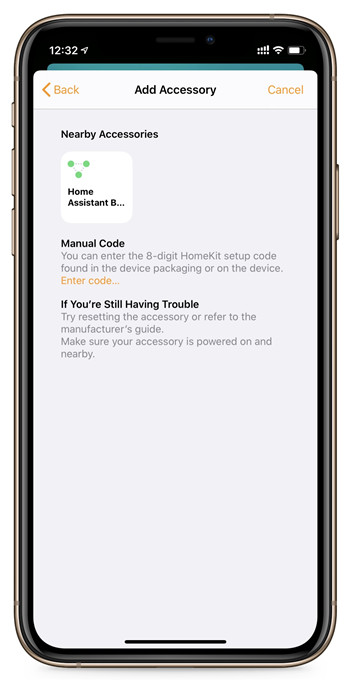
Press “I Don’t Have a Code or Cannot Scan”, Then you can see home assistant device.

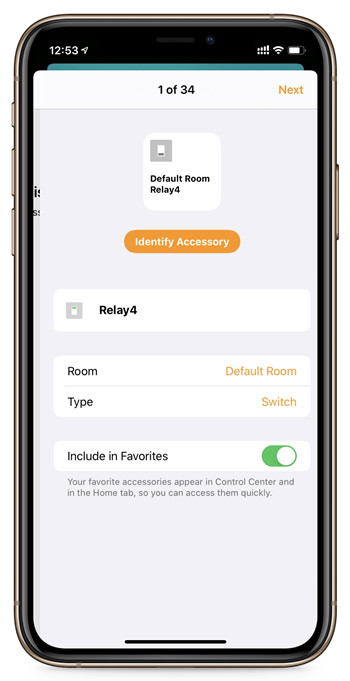
input the code we have seen on PC. Then you can set the name and room of each relay separately.
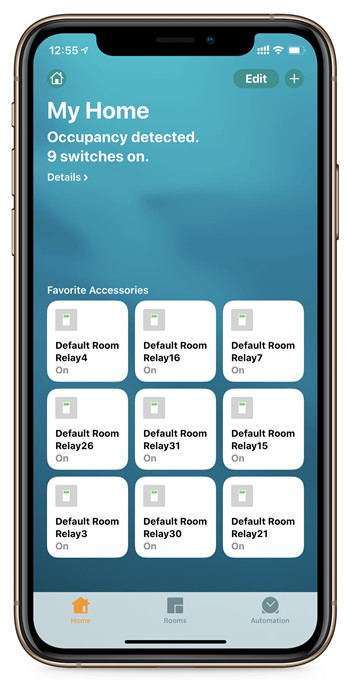
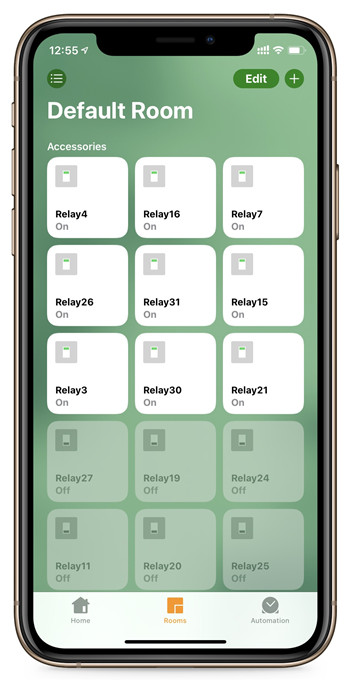
All relays config complete, you can use homekit control relay now.
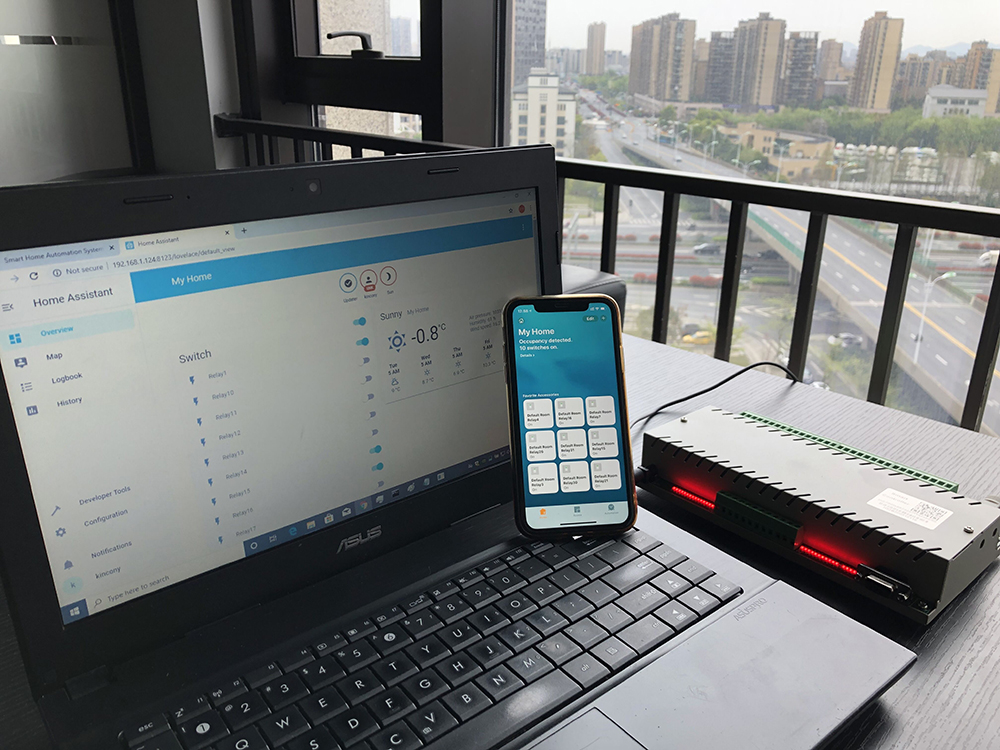
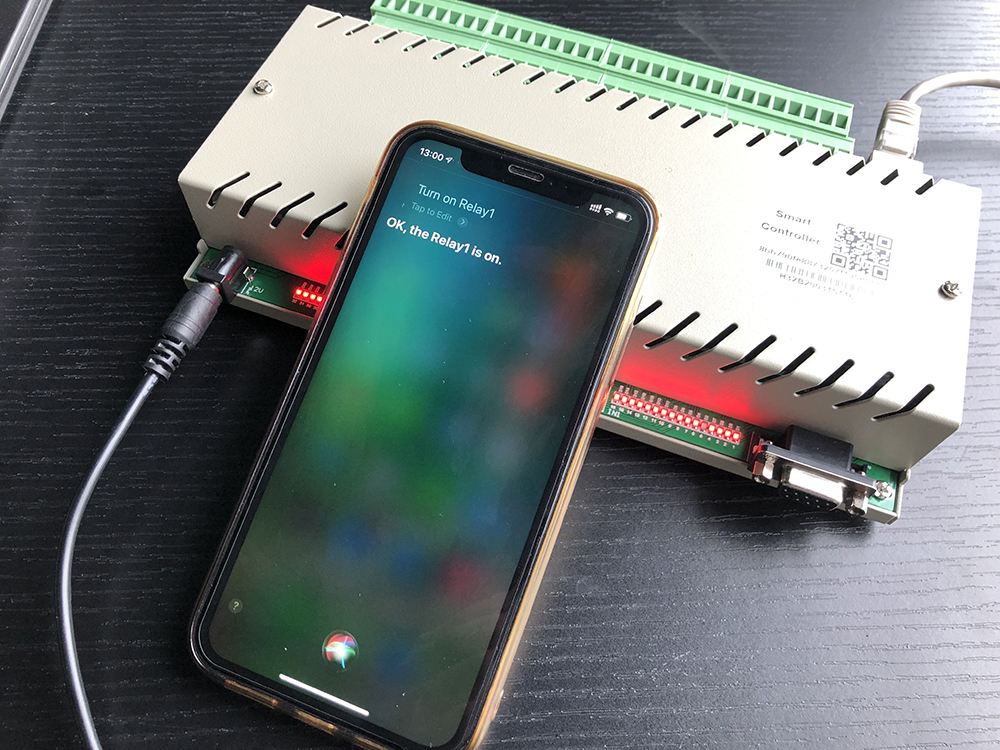
Also you can use Siri for voice control.
